This page is split into three steps. Click on each header to navigate to the specific section:
- Finding the Auction Results
- Sending the Auction Results (Pre-settlements)
- Customising the Pre-settlement Emails
One of the most time-consuming aspects of an auction day can be informing vendors of the results of their lots. Often they will call up in the middle of an auction wanting to know how much their lot(s) made.
Thankfully, in Snoofa it is possible to send all of the auction results to vendors in bulk via email, to avoid wasting time on unnecessary admin.
Finding the Auction Results
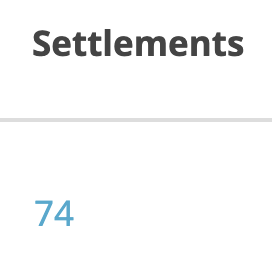
The place to send the auction results from is the Settlements datagrid. | |
| To find it, click on the Cashiers tab on the main menu. |  |
Select the desired auction by clicking on the auction name. | 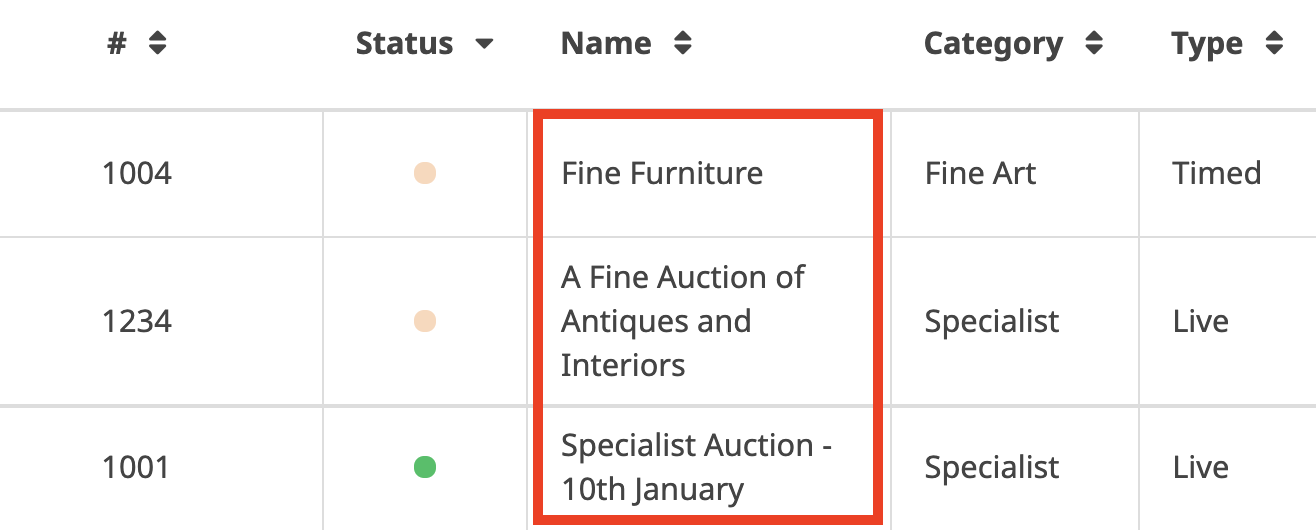 |
Click Settlements on the cashiers submenu. | 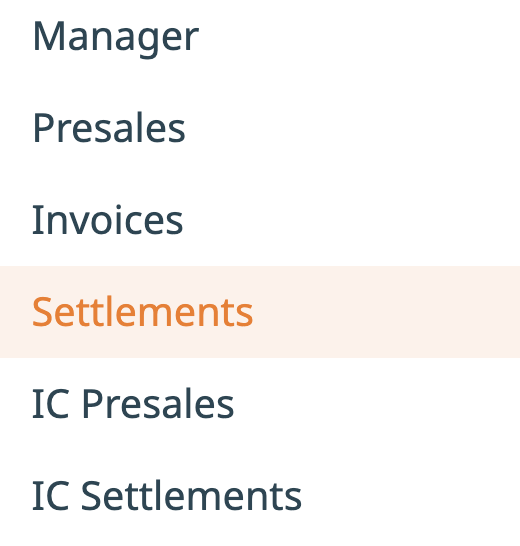 |
|  |
Sending the Auction Results (Pre-settlements)
To generate one individual pre-settlement email, click Send PSM in the Action column. | 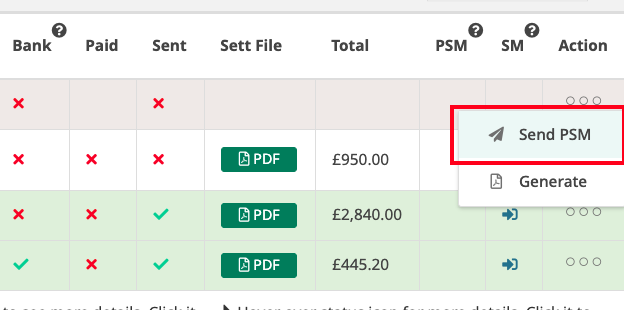 |
To send multiple pre-settlement emails at once, select the desired client using the tick boxes, click Send Presettlements from the dropdown and click Execute. Clicking the top left tick box will select all clients on that page. | 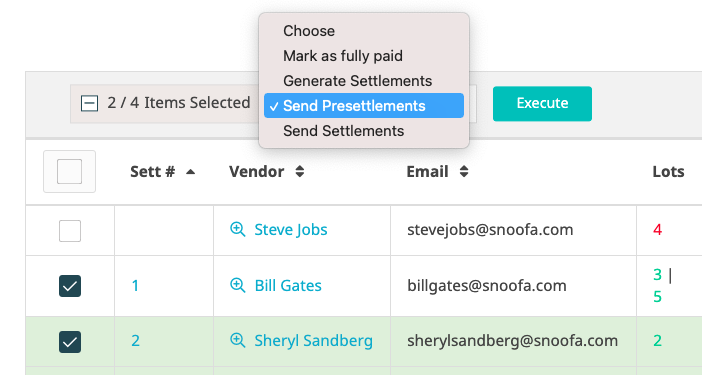 |
To send every pre-settlement email at once, click the grey Send all Presettlements button at the top of the screen. | 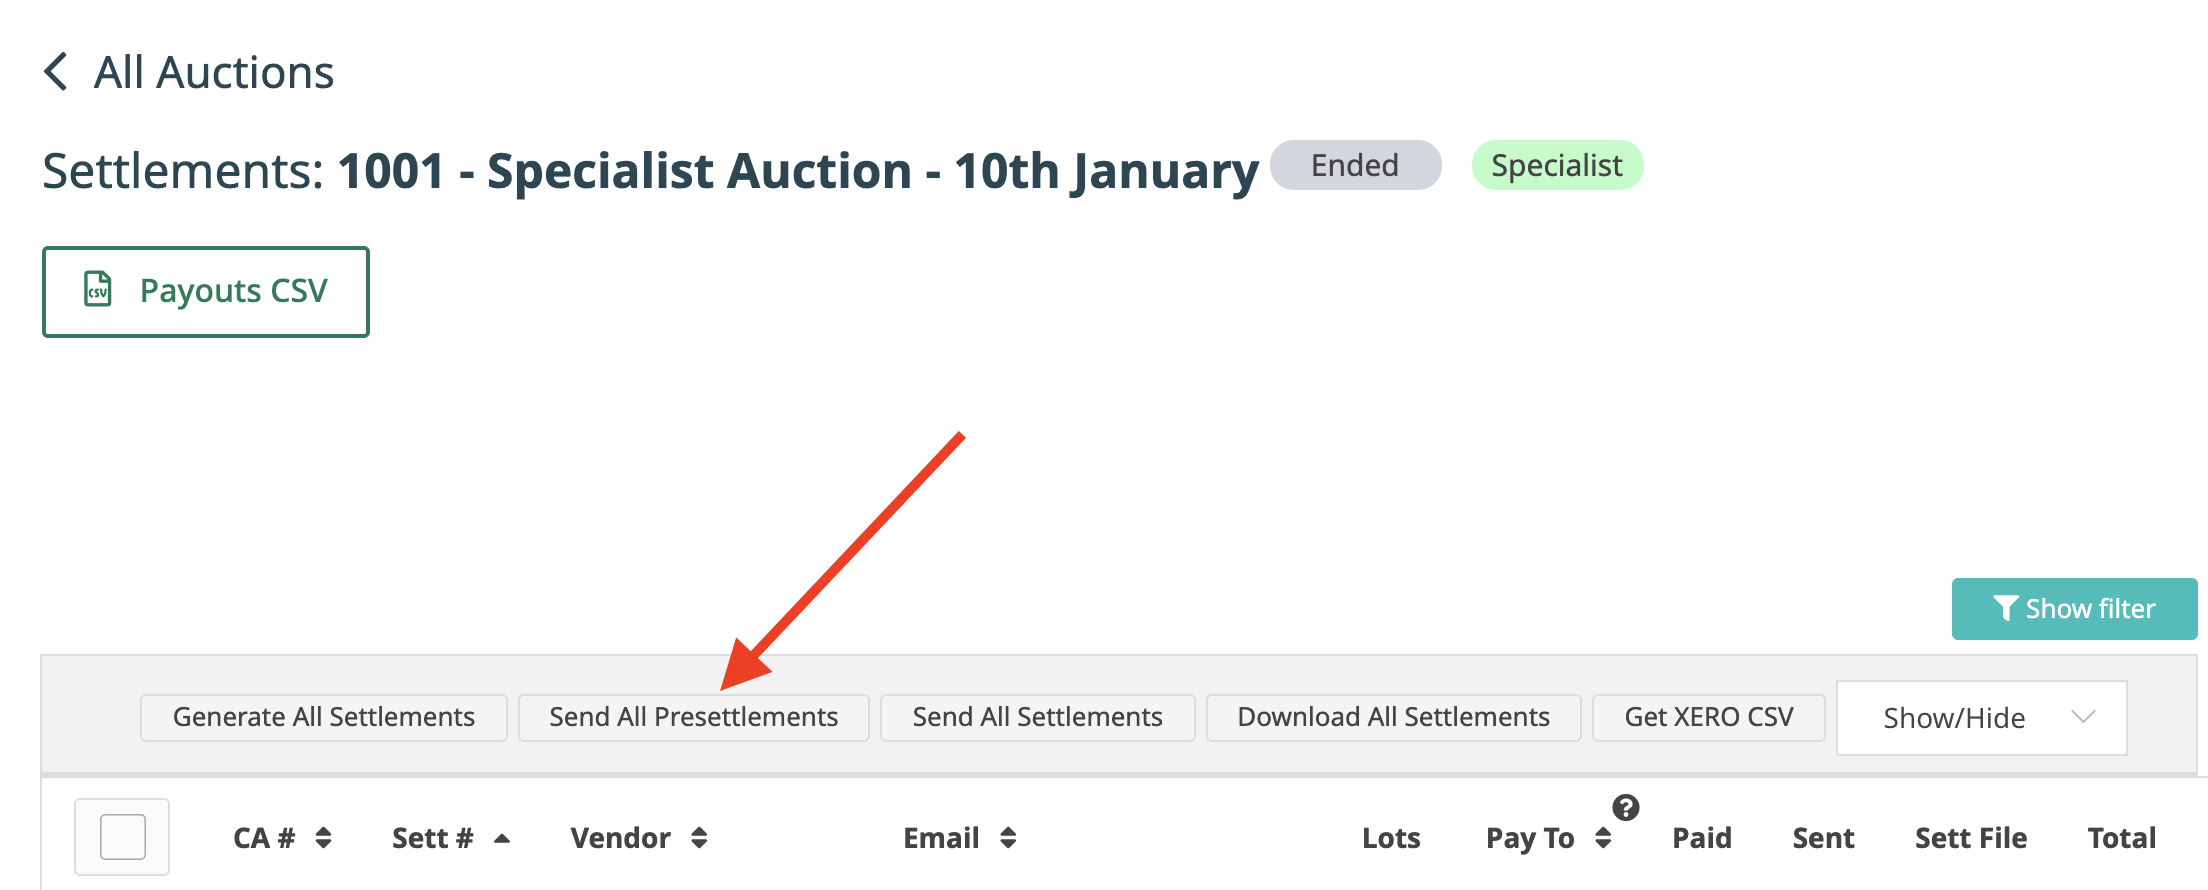 |
So there you have it, the pre-settlements have been sent! To keep track of which pre-settlements you have sent, use the info bubbles on the PSM column. | 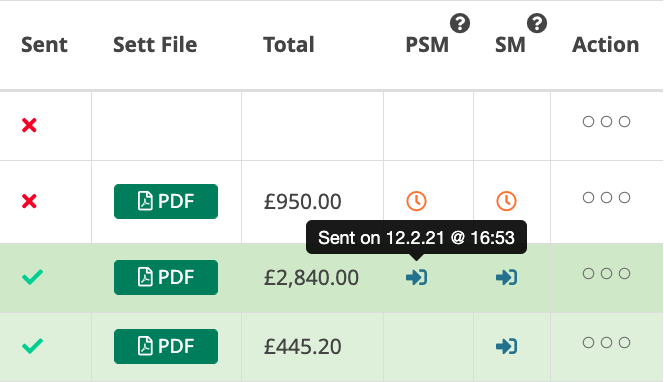 |
Customising the Pre-settlement Emails
It is possible to tailor the content of the pre-settlement emails to convey the exact message you’d like to give to your clients. | |
To do this, head to the Messages area of the System Settings. |  |
Select Presettlement from the options |  |
Make any desired changes to the text. Any text in brackets will populate with the relevant information when sent. E.g. e.g. {client_name} will show the relevant client’s name and {unsold_lots_list} will show a list of the client's unsold lots. |  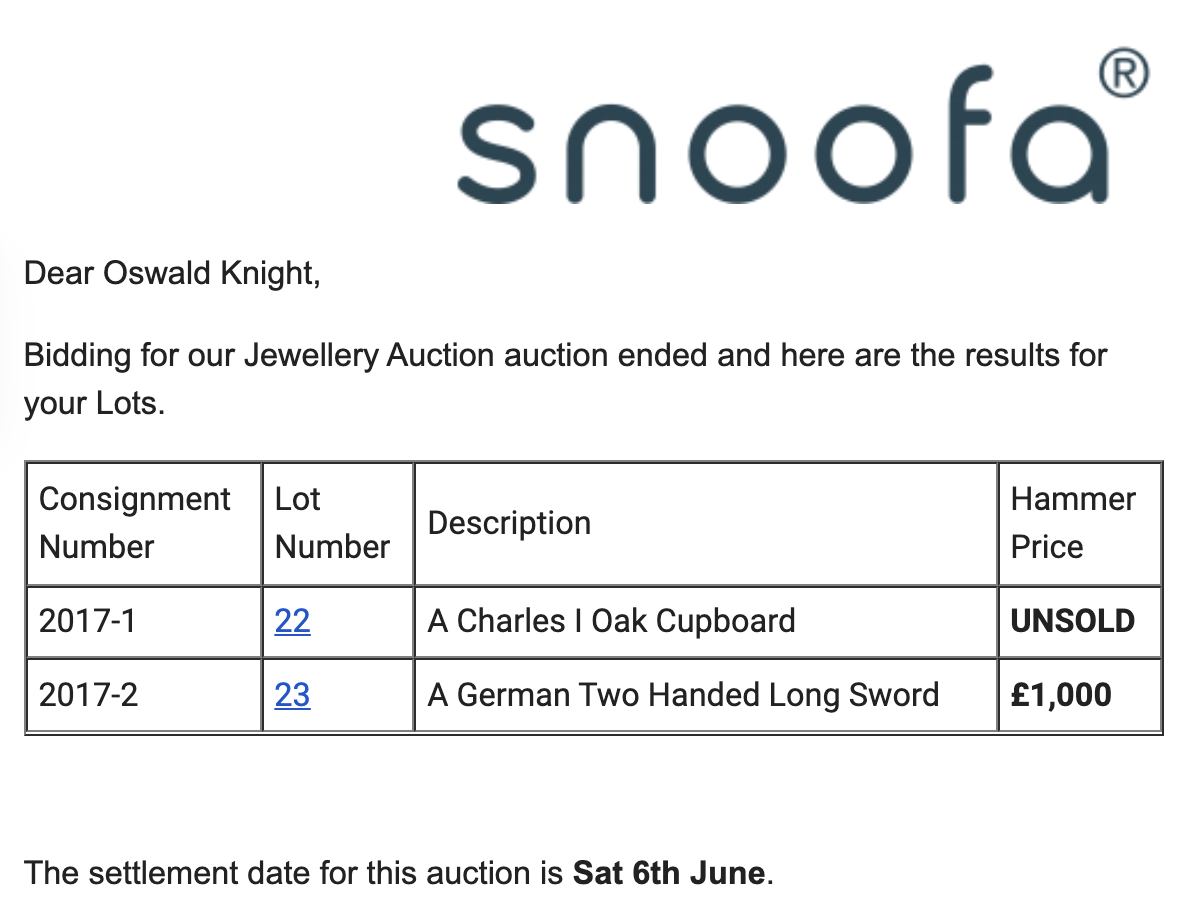 |
Was this article helpful?
That’s Great!
Thank you for your feedback
Sorry! We couldn't be helpful
Thank you for your feedback
Feedback sent
We appreciate your effort and will try to fix the article