Here is a quick Step by Step on how to add a new client to Snoofa.
Option 1
Click the plus icon on the top panel menu. This can be accessed from anywhere the Snoofa admin module |
 |
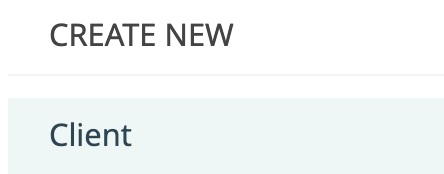
Select Client |
 |
Fill in all the fields with the client information and click Create new |
 |
Option 2
Click Clients on the main menu on the left |
 |
Click the orange Add New Client button on the top right of the page |
 |
Fill in all the fields with the client information and click Create new |
|
Client roles: Vendor and Buyer. Not choosing a role creates a partial client
Adding a VAT number turns client into a business account - this changes how their invoices are displayed
Thank you for watching.
Email support@snoofa.com with any questions.
Related articles
Was this article helpful?
That’s Great!
Thank you for your feedback
Sorry! We couldn't be helpful
Thank you for your feedback
Feedback sent
We appreciate your effort and will try to fix the article